Since Christmas 2011 has come and gone, I can FINALLY share what consumed my December. I literally mean, consumed every bit of it. TSG was being awesome and even offering to help with the sewing projects (even though he has no clue how to work the sewing machine….Bless his heart!)
My first priority was to totally spoil my twin sister. We had many projects on the list to get done for her, and obviously did not accomplish all of them. However, we were able to do the biggies!
Sis was gifted with wine cork wall art.
 |
| Now she just needs to hang it up |
<><> <><> <><>
 |
| The bottom was painted prior to adding any corks in order to hid the ugly wood color |
<><> <><> <><>
 |
| Sorry for the bad depth of field. It was bad lighting and TSG was in a hurry that day |
I was inspired by this:
 |
| Sorry I don't know the original source for this, I found it and saved the image long before I started writing this blog or before I knew what Pinterest was |
I wanted the corks to touch and not leave all the space in between.
I started out by grouping my small circular corks in the center of the spheres and gluing those down and worked out from there. It took some moving and grooving to get them all to fit and look symmetrical, but I think it came out ok.
Also, I thought the edges needed to be finished. So I cut some 2x4’s down to size. All the corks were hot glued on and the edges were CAREFULLY trimmed with a circular saw. True Southern Gentleman (TSG) nailed everything together for me and after what seemed like a month (read, approximately 5 hours), we were done with Melinda’s first Christmas craft!
 |
| This is where we dry fit the frame and before paint was added |
I think this craft cost me a little over $7.00. I know, I know, she’s wicked expensive! The cost included the sample can of paint from Lowe’s ($2.50), remnant pieces of 2x4 left over from other projects, nails and hot glue. The corks were given to me over the last year. Originally they were to be used for our wedding, but then we discovered wine isn’t exactly our poison of choice and might not match our personalities very well.
Next up for my beautiful sister was a wine rack that she could call all her own.

I used this tutorial from This Old House I just decided to spruce up the look a bit with paint and thought I would get really creative and add an accent color to the front brackets.
What I learned:
Nailing those SOB’s in was a real pain in the arse for TSG
Primer was an unnecessary step, as it still took 2+ coats of the white
I really need to invest in a 4-6 inch circular drill bit
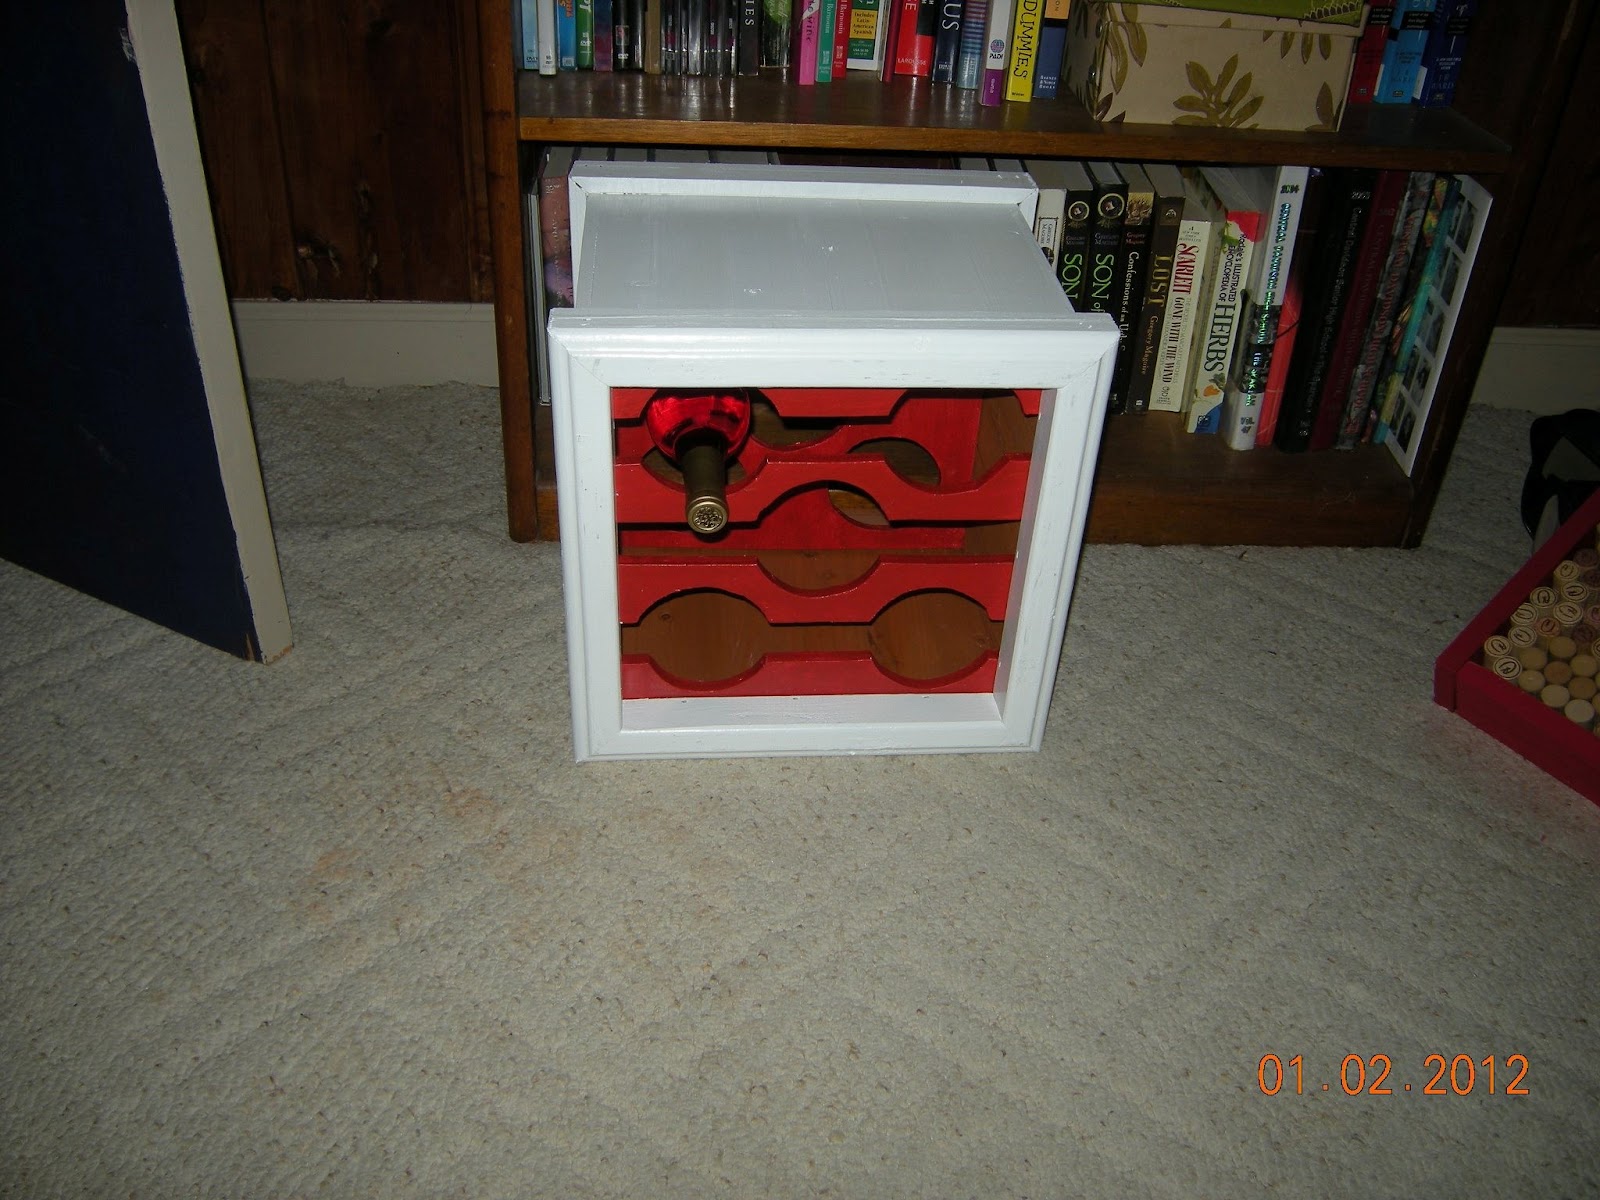 |
| See what I mean about painting the interior? Just would have added that finishing touch, I think |
This project was a tid bit more expensive:
Painter’s box: $30
At first, I thought I was going to be really creative and Mod Podge some fabric to the front brackets for a really cool finish. No go on that idea. It was my first attempt at Mod Podge, so it was more of a learning experience. 1. Mod Podge is messy for me and I didn’t work quickly enough. 2. The brackets were entirely too small and had too many curves for a beginner. 3. I think I bought the wrong kind of Mod Podge. I have other plans for this stuff though, so stay tuned
Love as always!
Meredith
I LOVE ALL OF THESE THINGS. I'm OBSESSED with wink corks. I literally have a huge bowl filled with them! Beautiful job, Mere!
ReplyDeletei love this! I am going to send you some of my crafty projects so you can do them. lol
ReplyDeleteVery cool! Love the pattern :)
ReplyDelete